Gold Header Ad
reserve your ad hereGold Header Ad
reserve your ad herePlatinum Header Ad
reserve your ad here10 Top Tips for Flushing and Harvesting Your Weed Plants
Knowing exactly when to harvest your indoor cannabis plants is a balancing act between completing a proper flush and allowing the plant to fully use up its stored nutrients. The final two weeks of flowering are critical; this is when resin production, terpene profiles, and overall yield can be won or lost.
In this article, we break down 10 top tips to help you navigate the final stage of your plant’s life cycle and get the absolute best results from your indoor grow.
Top Tip #1 – Always Label Your Plants
Before chopping anything down, label each plant clearly. A cable tie and a simple plastic tag are all you need to keep track of strains and phenotypes.
My tip: Don’t rely on memory or smell alone. Spending a few minutes labelling plants now will save frustration later, especially if you’re working with multiple strains or phenotypes, or running clones for future projects.
Top Tip #2 – Save Your Leaves for Hash
While buds are the main goal, don’t waste trichome-rich leaves and trim. Many sugar leaves are packed with resin and perfect for extractions.
My tip: Handle trim gently and store it in the freezer for later use in hash making, dry sift, or BHO extraction. Even small harvests add up over time—saving trim throughout the year can result in a massive hash run later.
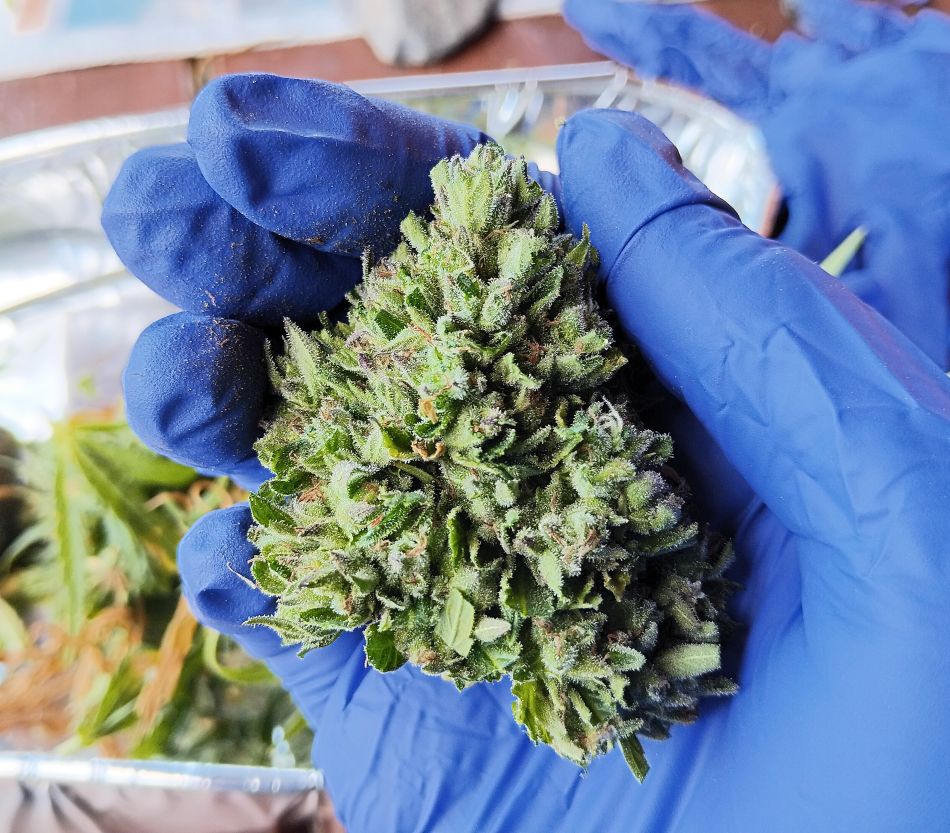
Top Tip #3 – Drying Nets Are a Game Changer
Drying nets come in a variety of sizes and are ideal for small grow tents equipped with carbon filters. They allow you to lay trimmed buds flat or place entire branches inside, letting air circulate evenly around the flowers.
My tip: Label each section of the net. A simple piece of paper in each compartment can save a lot of confusion later. Also, avoid pointing fans directly at the buds—this causes overly fast drying and can damage terpene content.
Top Tip #4 – Avoid Overwatering During the Flush
There are two common flushing methods:
- Continue watering at normal volumes, but without nutrients
- Flood the medium with 200–300% more water than usual
For beginners, heavy flooding can backfire if environmental conditions aren’t perfectly dialed in.
My tip: Stick with your normal watering volume and simply cut out nutrients. Always allow the medium to dry properly between waterings—roots need oxygen, and oversaturation can stall growth during this crucial phase.
Top Tip #5 – Prioritize Resin Production
Bud size matters, but resin development matters more. Trichomes contain cannabinoids, terpenes, and essential oils—the true value of the harvest.
My tip: Giving plants a few extra days can significantly boost resin production. Some growers also use techniques like 48 hours of darkness or controlled stress to encourage trichome output near harvest.
Top Tip #6 – Aim for a 14-Day Flush
If possible, a full 14-day flush allows plants to completely fade and finish strong. In emergencies, 7–10 days can work, especially in hydro systems.
My tip: Use plain water only and resist the temptation to add last-minute nutrients. Enzymes can help, particularly in coco coir that will be reused. While opinions on flushing vary, visible leaf fading is a reliable indicator you’re on the right track. 420Seeds recommends that with autos grown in soil, you may choose to flush the final 4 to 10 days.
Top Tip #7 – Keep the Dry Room Smell-Proof
Drying cannabis produces an intense aroma that can attract unwanted attention. Hanging plants in uncontrolled spaces like bedrooms or cupboards is risky and ineffective.
My tip: Invest in a small exhaust fan, carbon filter, and drying net. This keeps odors contained, maintains environmental control, and protects all the hard work you put into your grow.
Top Tip #8 – Expect Yellow, Brittle Leaves
Healthy plants maintain vibrant green leaves through most of their life cycle. During a proper flush, nitrogen is depleted and leaves naturally turn yellow, dry, and brittle.
My tip: Continue flushing until fan leaves are pale yellow and fall off easily when touched. This usually occurs between 7–14 days. Remove fallen leaves promptly to keep your grow area clean and pest-free.
Top Tip #9 – Watch the Trichomes, Not the Calendar
Seed company flowering times are only guidelines. The most reliable way to determine harvest readiness is by inspecting trichomes with a magnifying loupe.
Clear trichomes indicate immaturity, milky trichomes signal peak THC, and amber trichomes suggest more sedative effects.
My tip: For heavier, body-focused effects, wait until around 50% or more of the trichomes have turned amber or dark yellow.
Top Tip #10 – Use Only Plain Water
During the final two weeks of flowering, switch to plain water only. Cutting out nutrients flushes excess salts from the growing medium and encourages the plant to use up stored nitrogen in the leaves.
As flushing progresses, leaves will begin to fade and display a range of yellow, purple, and autumn-like colors. This visual change is a strong indicator that the flush is working and harvest is close.
My tip: Reverse osmosis water works exceptionally well, especially for hydroponic systems. Flushing not only improves flavor and smoothness when smoked, but also makes recycling your medium much easier.
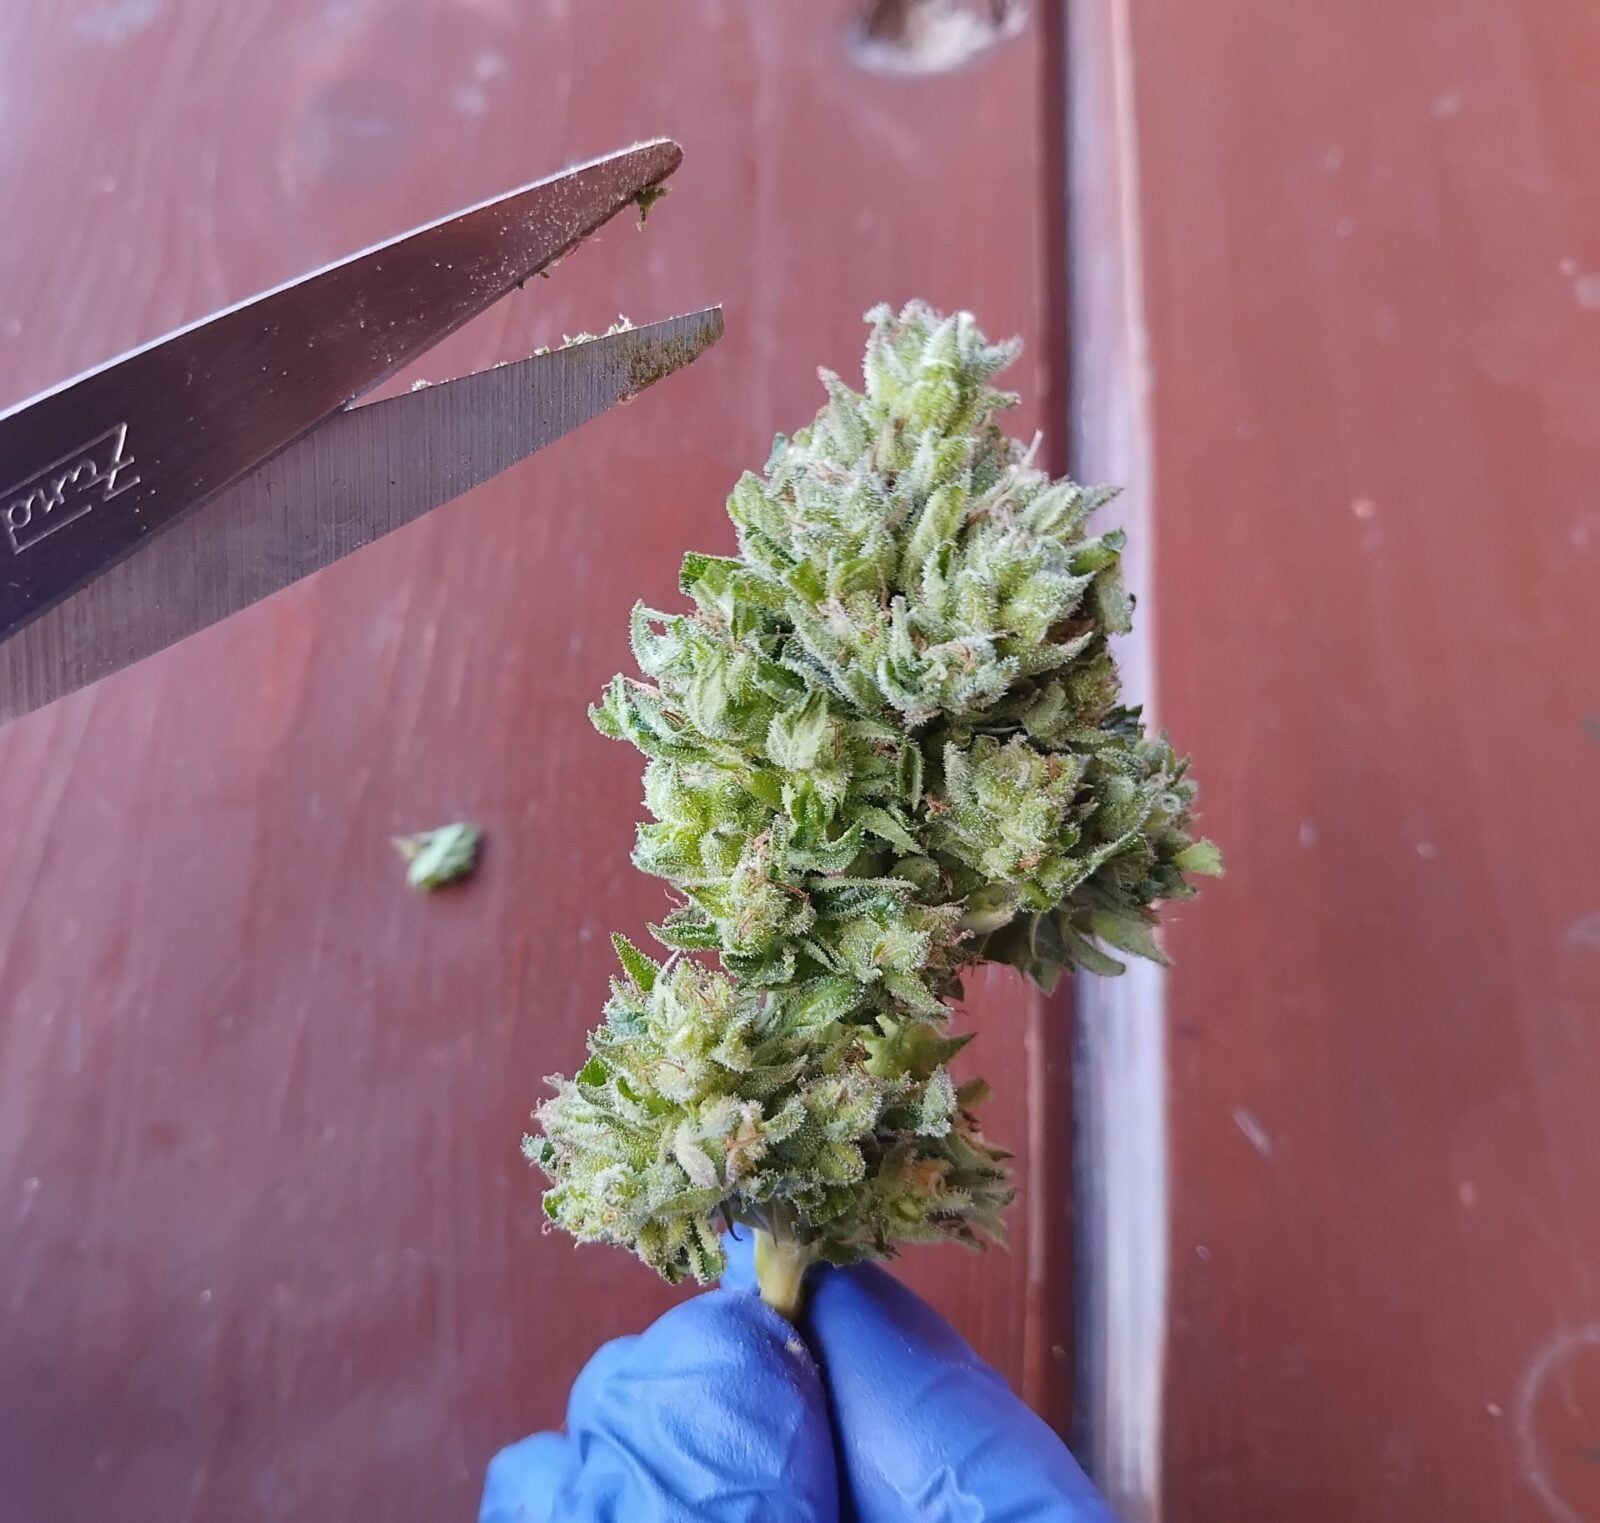
Feature photo: A freshly trimmed bud ready to be placed on a drying net for 14 days. Photo credit: Stoney Tark.

